We’ve come a long ways in a relatively short period of time. In my last update post, we had selected our property and were clearing a homestead site by manual chainsaw work. Johanna was piling all the brush into large piles. We also had the septic system application in place and I had a driveway flagged out. Phew! But there’s lots more to add to the list so let’s get started. Let’s talk about our road building and preliminary orchard and garden preparation.

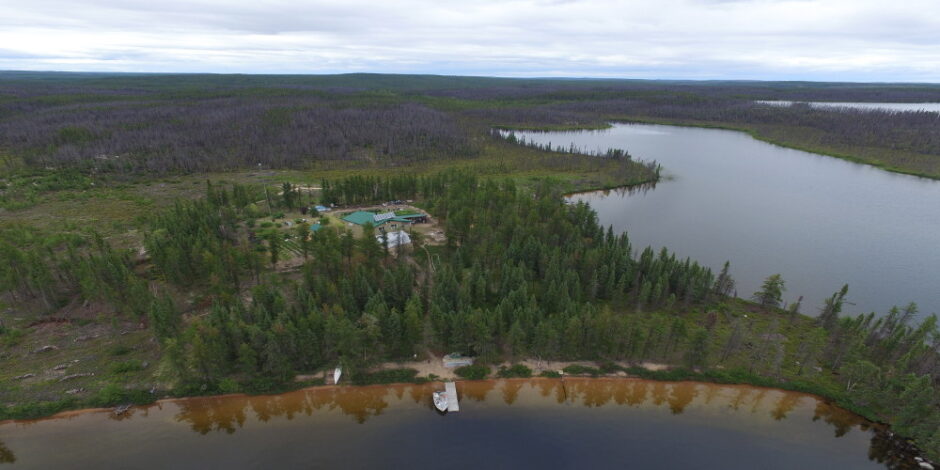
Our cleared homestead site
Road Building Tips
We have an approved septic system and permit. The driveway is complete and now we can drive right in to the home site. I could have selected any number of routes through the woods to access our clearing. I spent considerable effort and time wandering through the forest in order to select the best route. Even though it’s quite hard finding a route through thick alder and dense, young growth, my efforts really paid off.
To search for the best, most direct path from point A to point B I used my GPS, compass and flagging tape. I knew where the homestead would be located and took a GPS coordinate. Then using the old, existing gravel road that we reclaimed, I simply walked up that road and used the “Go to” function of the GPS to get a bearing to the homestead. Next I used my compass. I set it to the bearing indicated by my GPS and proceeded to thrash and bash through the brush placing temporary flagging along the way. If I came to a steep ravine or other obstacle, I retraced the route, untying my temporary flagging tape, which was loosely tied, as I back tracked and got back to the gravel road so I could try a different route.

Driveway I flagged and cut out

Completed Driveway
One note I need to mention. When using the compass be sure it is set for the declination of your particular area. Not real important if you only have a short path to flag out but over a distance of say a quarter of a mile or more, being off 20 degrees will put you way off your mark and you will be doing some head scratching on why you missed your target. There are many good references on the internet for declination but essentially, magnetic north and true north can be different and that difference is called declination. For any serious map and compass work, declination must be taken into account but in truth, it’s best to set your compass properly no matter what you will be doing.
Although we only had to build a brand new road approximately 250 yards long, (the road I flagged out using my compass), there were several wet, boggy areas that needed considerable fill. We were very lucky to have gravel on our property. It cost a small fortune to run dump truck after dump truck load a short distance from our gravel pit to the new driveway. The cost would have been astronomical if the loads of gravel had to be brought in from the local area’s gravel pit. This is something to keep in mind if you have to build any kind of new road through the woods. Road building is a costly, time consuming endeavor and the shortest route through is generally the best access and most economical. See this post on more road building information. http://www.inthewilderness.net/2017/03/03/homestead-road-building/ If you have some acreage to explore and have access to a back hoe or excavator, try a test hole on a knoll and see what you come up with. Unless an excavator digs a test hole, you won’t know what you have under the soil. The find of gravel can be a financial life saver.
Utilize Your Natural Resources
We try to use the natural resources we have on hand and that gravel pit provided an assortment of rocks. These came in handy when we had to fill in the wet areas. The bigger rocks were set down first to provide a base. Then they were topped off with bank run gravel.

Our new gravel pit
The larger rocks from our gravel pit were also used around our new culvert. We had a flowing stream in one of the wet spots. A culvert was required. After setting the culvert in place, rocks were laid along it for support and large rocks were also set at each end of the culvert pipe to act as sort of a “retaining cap” to hold the gravel in place along the sides. Rocks from the gravel pit may be used for future building projects such as an earth bermed or partially sunken greenhouse. Stay tuned on how we build a greenhouse. First things first though, we need a house for us.

Stream where we put culvert
Because of our experiences with forest fires in northern Saskatchewan and watering our gardens during prolonged dry spells, I had the excavator dig a small pond right at the outflow end of the culvert. We’ll set our fire water pump in there and then run fire hose to the house site. That pond/pump/hose will offer a bit of security if the unthinkable happens. Additionally the fire hose and nozzle can sure water a garden in a hurry. Our bet is this small stream flows year round so it will fill the pond on an ongoing basis as we draw water out. It’s nice that we have this water resource near the homestead and we’ve modified it to our advantage.
Orchard and Garden Preparation. Thanks Excavator!
Speaking of taking advantage of things, we utilized the excavator fully while it was out doing the roadwork. After we cleared the homestead of trees and brush, it was much easier to visualize where house, orchard, gardens, solar array etc would fit into the space. We researched the optimal spacing for the fruit trees we wanted to plant and then using string, tape measure, flagging and marker posts, we pounded stakes in where each fruit tree would be planted. Each post was flagged with bright flagging tape.
We located our first tree hole, pounded a stake in, tied string on and then walked the string down the first row of “trees”. We then took the tape measure and measured off 15 feet down and pounded another stake in. We continued until we had the first row marked. We measured 15 feet off to the next row and repeated the procedure. So the orchard is aesthetically pleasing in nice rows and logically positioned.
But it gets better. Keep in mind, this is forest being converted to orchard, gardens and home site. There is a thick mat of forest duff, roots and stumps to break through before we can get to soil. It would take us literally days to properly dig 30 holes in the orchard. So while the excavator was around, we had him dig our orchard tree holes. The excavator crawled to a hole, I removed the stake and with a few swipes of the soil, a hole was dug. Forty five minutes later and our orchard was dug. If a large rock or tree stump was encountered, the excavator ripped it out and set it at the edge of the woods out of our way.

Excavator digging orchard tree holes
The same excavator worked our garden areas. We set 4 corner posts where we wanted our gardens and had the excavator root around breaking up the soil and pulling up rocks and tree stumps. It will still be a brutal endeavor to rototill the first few times but we’ve made a good start at working the soil. I’ll just take it in small sections.
Oh and one last thing. We have one more major, super duper accomplishment that occurred while we were out on the property. That will be the subject of my next post. Stay tuned. The achievement was nothing short of magic!
Until next time, keep the dream alive! We wish you a great day!
Ron and Johanna
If you found our site and this post of value, would you please click the “Top Prepper Sites” link in the right hand column to vote for us. Thank you so much!
Please subscribe to our blog if you would like email notification of new posts.